
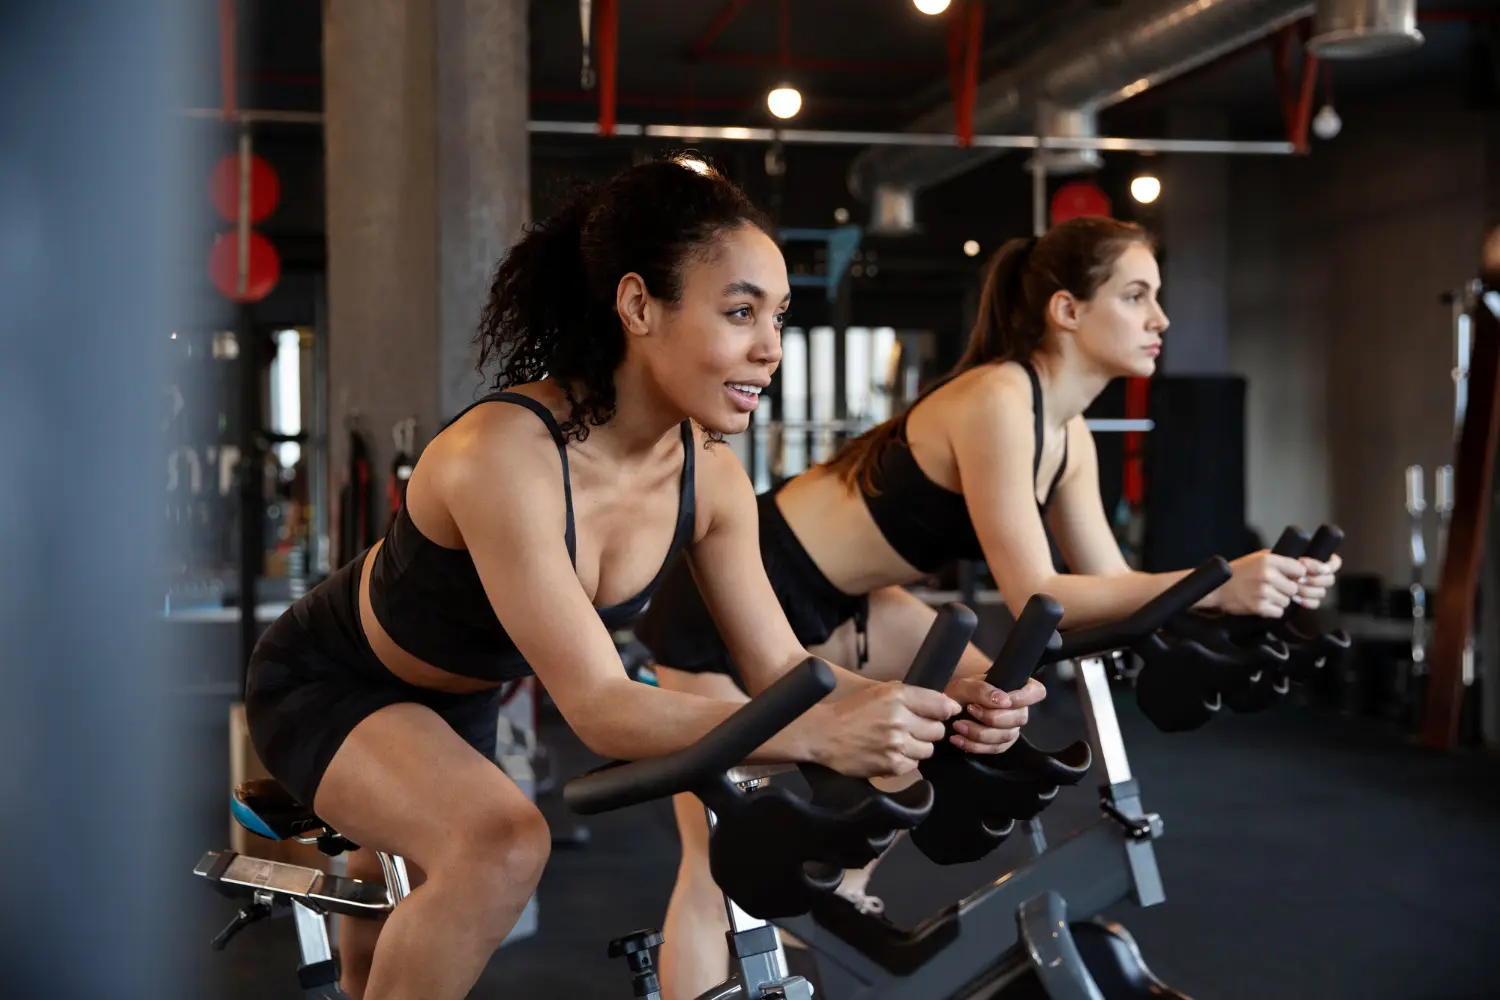
A saddle-height error rarely stays at the saddle. Because the foot follows a fixed circular path, changing the rider’s distance from the crank alters knee extension, hip position, ankle strategy and pelvic stability on every revolution. The body then finds a way to complete the circle. That workaround may appear as a pointed toe, a dropped heel, a rocking pelvis, excess knee flexion or a reach through the hip.
This makes setup one of the highest-value coaching moments in indoor cycling Singapore. A small correction is repeated hundreds or thousands of times during class. Equally, a small error is repeated just as often. The objective is not to discover one mathematically perfect saddle height for every rider. It is to establish a defensible starting position, observe the rider under load and refine the setup without self-diagnosing pain.
Saddle Height Changes the Entire Lower-Limb Chain
At the bottom of the pedal stroke, the leg should approach extension without locking the knee or forcing the pelvis to reach. At the top, the hip and knee should have enough space to flex without crowding the torso. Saddle height changes both ends of this cycle.
Raise the saddle and the foot travels farther from the hip at the bottom. Lower it and the knee and hip remain more flexed through a larger portion of the circle. The ankle often compensates in either direction. It may plantar-flex, or point the toes, to reach a high saddle. It may dorsiflex, or drop the heel, to create room around a low saddle. These are not automatically harmful movements, but a sudden or exaggerated strategy can reveal that the rider is solving a setup problem rather than choosing an efficient technique.
Research supports the importance of seemingly modest changes. A review of saddle height and knee mechanics reported that a five per cent alteration in saddle height could materially affect knee kinematics and joint moments. The exact response varies, which is precisely why a universal handle number or hip-level visual check is only a starting point.
What Happens When the Saddle Is Too Low
The Knee Stays More Flexed
A low saddle reduces the space between the rider and the crank. The knee remains more flexed at the bottom of the stroke and becomes more compressed at the top. Under resistance, the quadriceps may feel heavily loaded because they repeatedly produce force from a more flexed position.
This does not mean every sensation at the front of the thigh proves the saddle is low. Resistance, cadence, prior training and technique also matter. The useful observation is a pattern: excessive knee bend at the bottom, crowded hip position at the top, difficulty sustaining force and discomfort that changes when the saddle is raised incrementally.
The Hip May Feel Crowded
At the top of the revolution, a low saddle increases hip flexion. Riders may respond by widening the knees, rotating the pelvis or lifting one hip. The torso can also become more upright simply to create space. If the rider has limited hip mobility or a long femur relative to the bike’s adjustment range, the effect may be more obvious.
The Calf May Become a Stabiliser
With insufficient leg extension, some riders drop the heel and use the ankle aggressively to lengthen the effective limb. Others keep the ankle relatively rigid while the knee does more of the work. Calf tension can therefore increase, but the precise strategy differs. The important point is that the ankle is not isolated. It responds to the available knee and hip geometry.
What Happens When the Saddle Is Too High
The Rider Reaches for the Bottom of the Stroke
An excessively high saddle asks the leg to travel farther than the rider can control comfortably. The knee may approach full extension too early. To keep the foot connected, the rider may point the toes, shift the pelvis toward one side or rock across the saddle.
Pelvic rocking is particularly revealing because it often becomes rhythmic. Watch the waistband or the line of the hips from behind. If each leg creates a visible side-to-side drop, the rider may be reaching. The saddle can be lowered one increment and reassessed under moderate resistance.
The Calf and Hamstring May Work Differently
Pointing the toes effectively lengthens the leg, which can increase calf involvement. Reaching through the bottom may also change tension through the posterior thigh. These sensations do not provide a diagnosis, but they are useful setup clues when combined with visible loss of control.
The Hip Can Shift to Manufacture Reach
Some riders slide forward on the saddle, while others rotate or drop one side of the pelvis. This creates apparent leg length at the cost of symmetry and stability. The rider may not notice the shift during a hard interval because effort masks positional awareness. A coached setup before intensity rises is therefore more reliable than troubleshooting during a sprint.
Knee Position Alone Does Not Tell the Whole Story
Bike-fitting guidance often references knee angle at the bottom of the stroke, but the measurement method matters. Static and dynamic angles are not identical. One study comparing static and dynamic methods found that knee angle measured while pedalling differed from static positioning, and the selected method also affected reported hip and ankle angles. That means copying an online photograph or measuring with the crank held still can create false precision.
For a group class, the goal is not laboratory bike fitting. It is a repeatable practical screen:
- Set the saddle from a recognised initial method.
- Check that the knee retains a slight bend at the bottom.
- Observe the pelvis from the front or rear while the rider pedals.
- Add moderate resistance, because errors can hide during unloaded spinning.
- Ask where the rider feels pressure, crowding or reach.
- Change only one adjustment at a time.
This process respects both biomechanics and uncertainty.
How Load and Cadence Expose Setup Errors
A setup may look acceptable during a gentle warm-up and fail under class conditions. Higher resistance increases the force that must pass through the selected joint positions. Faster cadence challenges the rider’s ability to control those positions repeatedly. Standing changes the relationship again because the saddle no longer supports body mass.
Therefore, an effective check includes seated pedalling at a realistic endurance load, a short higher-cadence segment and, where appropriate, a brief controlled climb. If rocking appears only at high cadence, the cause could be speed, low resistance or saddle height. If the rider stalls only under heavy load, resistance selection may be the main issue. Setup should be considered alongside the task, not blamed automatically.
Foot Strategy Can Hide the Original Problem
Cyclists often receive the cue to keep the foot flat, but the ankle normally moves through the pedal cycle. Forcing one rigid foot angle can create another compensation. What matters is whether ankle movement is smooth and repeatable or exaggerated to rescue reach.
A toe-down pattern at the bottom may be normal for a particular rider. It becomes more suspicious when paired with near-locked knees, pelvic rocking and a sensation of reaching. A heel-down pattern may also be a personal style, but it deserves attention when the knee remains markedly flexed and the hip looks crowded.
Shoe stiffness, foot placement on the pedal and cleat position can further influence the strategy. This is why saddle height should not be adjusted solely because the calf feels active. The instructor needs several converging signals.
Use Symptoms as Information, Not a Diagnosis
Location can suggest what to inspect, but it cannot prove the cause. Anterior knee discomfort may coexist with a low saddle, but resistance, cadence, training volume and prior injury can produce similar complaints. Posterior knee tension may appear with an overly high saddle, but it may also have another source. Hip or calf discomfort is equally non-specific.
The safe response is to stop or reduce the aggravating effort, check obvious setup issues and avoid pushing through worsening pain. Persistent, sharp, recurrent or function-limiting symptoms deserve assessment by an appropriately qualified healthcare professional. A class instructor can improve bike setup and technique, but should not diagnose an injury.
Create a Repeatable Personal Setup Record
Once a comfortable position has been coached and tested, record the saddle height, fore-aft position and handlebar setting for that bike model. Add a short note about shoe type and pedal system. Numbers are useful, but they are not transferable between every bike because adjustment scales and geometry differ.
On a new bike, reproduce the relationship rather than blindly copying the number. Then confirm it dynamically. The current indoor cycling options at TFX Singapore include formats that emphasise bike setup, technique, cadence, resistance and power, so arriving early enough for a coached check makes the rest of the session more productive.
A Good Setup Distributes Work, It Does Not Eliminate It
Cycling should create muscular effort. The goal of saddle adjustment is not to make the knees, hips or calves feel nothing. It is to prevent one area from taking disproportionate load because the rider lacks room or reach.
The most credible setup is the one that holds up under realistic resistance, permits a quiet pelvis, allows controlled knee extension and does not require an exaggerated ankle rescue. It should also feel repeatable across the session. When those conditions are met, the rider can focus on the training rather than continually negotiating with the bike.
Frequently Asked Questions
Can I set saddle height by aligning it with my hip?
Hip-level alignment is only a rough starting point because body proportions, footwear and bike geometry differ. Always confirm the position while pedalling with resistance and ask an instructor to observe knee extension and pelvic stability.
Does front knee discomfort always mean my saddle is too low?
No. A low saddle may contribute to greater knee flexion, but discomfort has many possible causes. Reduce the provoking effort, check setup and technique, and seek professional assessment if symptoms persist or worsen.
Why does one hip rock more than the other?
The saddle may be too high, but asymmetry can also reflect mobility, previous injury, foot placement or habitual movement. Lowering the saddle slightly may be a useful check, not a diagnosis. Persistent asymmetry with discomfort warrants qualified advice.
Should I copy my settings from another studio bike?
Only if it is the same bike model and adjustment scale, and even then verify the position. A setting labelled seven on one model may not reproduce the same saddle-to-crank relationship on another.